Elastomeric paint is a highly durable and waterproof coating. It provides a great option for outdoor surfaces exposed to the elements. You might wonder how to apply elastomeric paint.
Unlike traditional oil or latex paints, elastomeric paint can return to its original shape and size after being stretched or compressed. This article will provide tips on applying elastomeric paint effectively and achieving a professional-looking result.
The application process for elastomeric paint may seem straightforward, but it can be tricky. It is always advisable to seek the help of a professional. Despite not requiring specialized brushes or rollers, proper elastomeric paint application requires experience. You need a working knowledge of the basics of painting. This includes proper preparation of the surface. You need an understanding of the right consistency and thickness of the paint. You should also be mindful of the conditions during application. A professional will properly prep the surface. The ability to apply the paint evenly results in a smooth and long-lasting finish. With these tips on applying elastomeric paint, you can achieve a professional look for your outdoor project.
First, What is Elastomeric Paint?
Elastomeric paint is a type of paint that has high elasticity and can stretch and move with the surface without cracking or peeling. A combination of elastic polymers, pigments, and solvents makes up its composition. The elastic polymers, typically acrylic or silicone, give the paint its elasticity. It can stretch and move with the surface.
The paint is best for the outdoors. Elements such as wind, foot traffic, or snow. Areas prone to movement or expansion and contraction due to changes in temperature and moisture. Elastomeric paint is also known for its durability and waterproofing qualities, making it an excellent choice for a long-lasting finish. Use it on stucco, concrete, masonry, and metal surfaces. It can be applied with a brush, roller, or sprayer.
Pigments provide color, and solvents act as a painting medium and help ensure even application. The exact composition of elastomeric paint can vary depending on the manufacturer and the specific type of elastomeric paint. Some elastomeric paints may also contain additional ingredients, such as UV inhibitors or mold inhibitors, to enhance their durability and resistance to environmental factors.
Preparation
Proper surface preparation is essential for the successful application of elastomeric paint. A clean, smooth, and well-prepared surface will help ensure a strong bond between the paint and the surface. This results in a long-lasting and attractive finish. Before applying elastomeric paint, removing any dirt, grime, or old paint from the surface is important. For instance, use a quality detergent that won’t leave a residue or cause the surface to peel. Use a scraper or pressure washer to remove any oxidized or peeling paint if necessary. Properly preparing the surface can result in a poorly adhered paint job. It may not last long and will not look as attractive as a properly prepared surface. Proper surface preparation is essential in ensuring a successful elastomeric paint job.
Filling cracks in stucco or masonry before applying elastomeric paint is important in ensuring a smooth and attractive finish. Small hairline cracks can easily be covered with elastomeric coatings without much hassle. However, larger cracks, greater than 1/16″, should be filled with a compatible substance. Use mortar or patching cement to prevent the paint from settling into the crack and creating an unsightly appearance. Use fiber-reinforced tape for cracks that are not expected to spread. This can bridge the gap and provide additional stability. It is important to take the time to properly address any cracks in the surface before applying elastomeric paint.
Priming
Before applying elastomeric paint, following the manufacturer’s recommendations for primer use and surface preparation is important. Firstly, Different surfaces, such as unpainted blocks or stucco, require different preparations compared to bare wood or previously painted surfaces. Choosing the right elastomeric coating for the surface is crucial to achieving a professional-looking result. Elastomeric coatings come in different formulations designed for specific surfaces. It is important to select the right product for the job. Keep in mind that elastomeric coatings do not penetrate deeply into the surface. An application of a primer is often important to ensure the paint adheres properly and lasts for an extended period of time. Following the manufacturer’s recommendations is a must. Moreover, taking the time to properly prepare the surface and apply the primer will help ensure a successful and long-lasting elastomeric paint job.
Application
The proper application of a product is crucial to its success. Following the manufacturer’s instructions is the key to achieving a high-quality outcome. One important aspect to consider is the wet film and dry film thickness. Use these as indicators of the quality of the application.
Both WFT and DFT are important factors to consider when applying paint. They affect the final appearance and performance of the paint. If the WFT is too high, it can result in runs or drips. A too-low WFT can lead to an uneven or thin coating. Follow the recommended DFT to ensure proper coverage and durability.
WFT
Wet film thickness (WFT) refers to the thickness of a paint in its wet state, immediately after application. It is measured in mils (thousands of an inch) or micrometers.
DFT
Dry film thickness (DFT) refers to the thickness of paint after it has dried completely. It is also measured in mils or micrometers and is the final thickness of the paint layer that remains on the surface after drying.
Staying within the recommended values for each item is important. It directly affects the performance and lifespan of the product. Opting for multiple thin coats instead of a single thick coat is usually the better choice. This ensures an even coverage without the risk of sagging or appearing lumpy. In conclusion, following the manufacturer’s instructions and paying close attention to the film thickness is vital for a successful application.
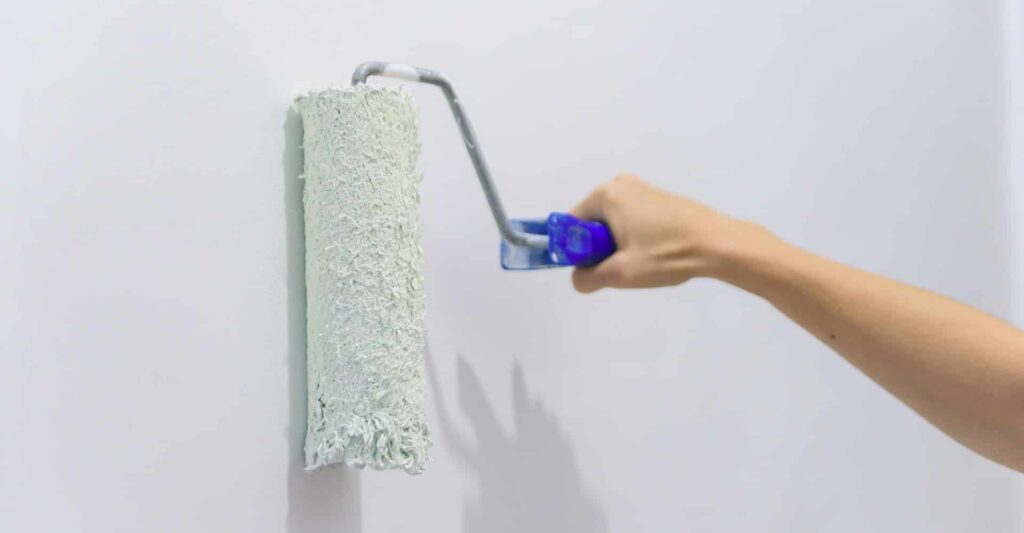
When painting, it is important to properly cover all surfaces, including difficult-to-reach areas around pipes, windows, and electrical boxes. Use a brush to apply paint to these areas precisely. Use a thick nap roller in an overlapping “V” pattern for larger, flat surfaces to cover the area efficiently. While airless sprayers can be used, they require significant equipment, special-sized spray tips, and professional training. This may not be available to the average do-it-yourself homeowner. For this reason, a brush and roller may be a more practical option for DIY projects.
Professional Painting Services
If you seek professional assistance with applying elastomeric paint, consider contacting Ameriside. Our team of experienced professionals will help with your elastomeric painting needs and more. We understand the importance of proper application to achieve the desired outcome. We provide high-quality services to our clients. Don’t let the challenge of applying elastomeric paint discourage you from completing your project. Contact us today to schedule a consultation and start your project with confidence. Our team is here to help you every step of the way. Contact us today, or call 855-546-0637